StartSSL是全球唯一一家免费的SSL证书颁发机构。跟VeriSign一样,StartSSL(网址:http://www.startssl.com,公司名:StartCom)也是一家CA机构,它的根证书很久之前就被一些具有开源背景的浏览器支持(Firefox浏览器、谷歌Chrome浏览器、苹果Safari浏览器等)。
在去年9月份,StartSSL竟然搞定了微软:微软在升级补丁中,更新了通过Windows根证书认证程序(Windows Root Certificate Program)的厂商清单,并首次将StartCom公司列入了该认证清单,这是微软首次将提供免费数字验证技术的厂商加入根证书认证列表中。现在,在Windows 7或安装了升级补丁的Windows Vista或Windows XP操作系统中,系统会完全信任由StartCom这类免费数字认证机构认证的数字证书,从而使StartSSL也得到了IE浏览器的支持。
注册成为StartSSL(http://www.startssl.com)用户,并通过邮件验证后,就可以申请免费的可信任的SSL证书了。注册StartSSL和申请SSL证书的主要步骤如下:
1、打开http://www.startssl.com/
2、点击StartSSL Free(Class 1)
3、点击Certificate Control Panel进入控制面板,或直接访问http://www.startssl.com/?app=12也可以。
4、点击sign-up注册一个帐号
5、填写注册信息,要用英文格式填写

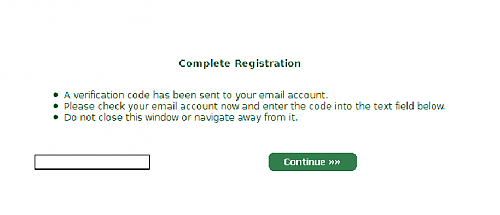
6、信息填写完成后,会给注册的邮箱发送一封电子邮件,此时不要关闭startssl的这个页面,检查邮箱输入验证码
7、等待StartComm人工审核注册的个人信息,如果审核成功会收到第二个邮件
例如:
StartSSL Account Request To XXXX,
Your request for an account at StartSSL (www.startssl.com) has been approved and is available during the next 24 hours at the following location:
https://www.startssl.com/?app=12&action=release&id=XXXXXX&auth=XXXXXXXXXXXXXXXX The verification code in order to continue the process is XXXXXXXXXXXXXXXX Thank you!
startssl审批很快,稍等会儿就能收到邮件。访问邮件中的链接地址,再次输入验证码。
8、建立私钥

选择高级,点击continue。
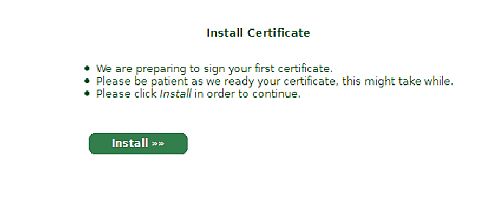
9、安装证书
10、安装完成
安装完成后,会有一个提示框:
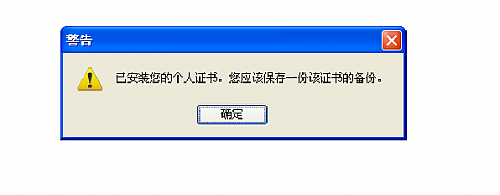
页面会提示:
Your first client certificate has been installed into your browser. This is a bootstrapping certificate for authentication purpose.
Backup this certificate to an external media, otherwise you might not be able to regain access to your account. Please read these instructions from our FAQ page on how to do that.
点击页面上的Finish。
11、随后页面会跳到F.A.Q.页面
点击How do I backup my client certificates?看下如何备份证书
firefox:工具-选项-高级-查看证书-您的证书,下面就有需要备份的证书。以后登录startssl要凭浏览器上前面安装的证书登录。
丢失证书后只能重新注册。
以后要登录,点击Authenticate凭证书登录:
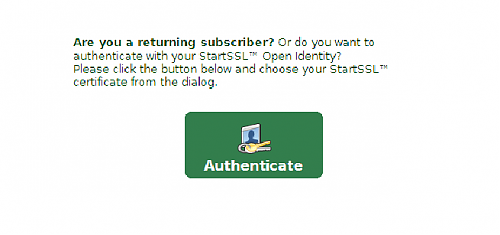
12、开始申请免费ssl证书
回到startssl的控制面板,我们看到有三个选项卡:

大致流程如下:
1)先到Validations Wizard验证域名的所有权
2)再到Certificates Wizard选择要申请证书的类型
3)再到Tool Box选项卡,使用里面的小工具生成证书
13、点击Validations Wizard
选择Domain name validation,点击Continue。

输入要申请的域名,点击Continue。
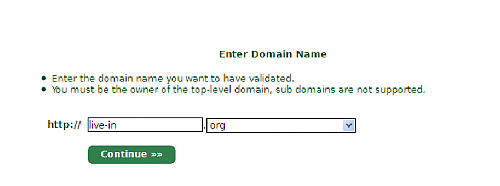
选择一个验证的邮箱,有postmaster@域名、hostmaster@域名、webmaster@域名、和注册域名时的邮箱。
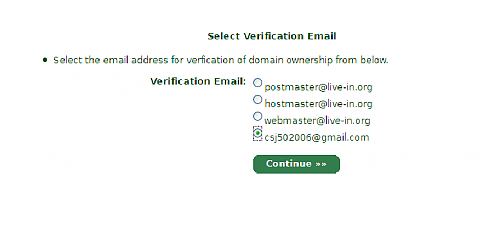
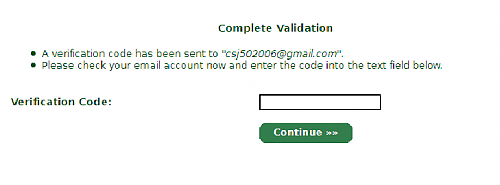
检查邮箱,输入验证码:
验证成功:
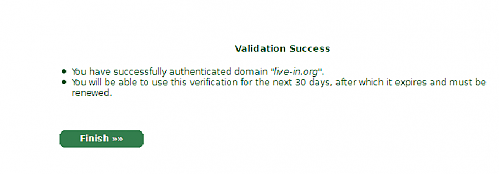
域名验证成功,这次验证在30天内有效,过期了要重新验证。点击Finish回到控制面板。
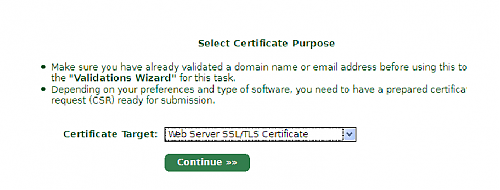
14、点击Certificates Wizard
选择WEB Server SSL/TSL Certifites:
生成私钥,为私钥提供一个密码,最少10位,最大32位:
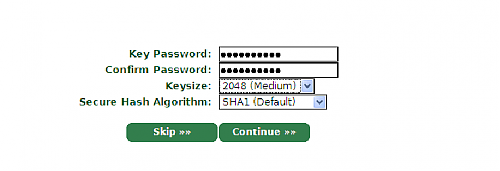
将显示内容保存为ssl.key(这个私钥是加密的):

选择域名:

输入一个需要ssl证书的子域名:
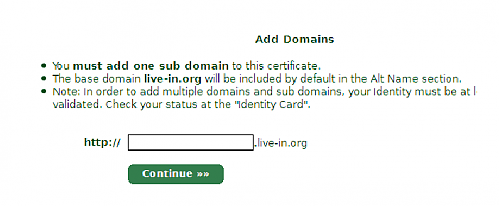
然后确认前面用于申请证书的域名。 最后会提示:
Additional Check Required!
You successfully finished the process for your certificate. However your certificate request has been marked for approval by our personnel. Please wait for a mail notification from us within the next 3 hours (the most). We might contact you for further questions or issue the certificate within that time. Thank you for your understanding! 随后就等邮件通知。
15、收到邮件后点击Tool Box
使用Tool Box – Decrypt Private Key,将前面生成的ssl.key的内容解密。将结果保存为.key文件。比如ssl2.key。 保存证书:
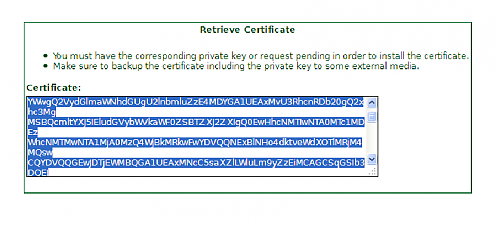
Tool Box – Retrieve Certificate,选择申请证书的域名,将框中的内容保存为.crt文件。比如ssl.crt。
这个就是证书文件啦。
apache服务器,上传ssl2.key和ssl.crt这两个文件,修改配置文件设置